I made my first one for my niece's first birthday party. I made my second one this past weekend for a second birthday! (anyone else notice the numbers?)
These cakes look intimidating, but they are pretty simple! If you haven't already, check out my crusting buttercream recipe. It's the only frosting I will use for this cake! The frosting stiffens and will not move or slide or anything! Perffff.
What You Need:
- a cake (obvi)
- that crusting buttercream I keep raving about
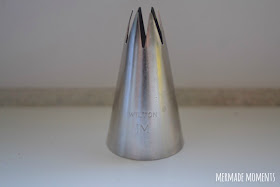
- a 1M Wilton piping tip
- a piping bag
- a frosting spreader
- food coloring of your choice
1) Make sure you are using the 1M Wilton tip. It's like it was made for this or something!
Here's a tip! No pun intended. For mess free piping bag filling - put the piping bag in a cup!

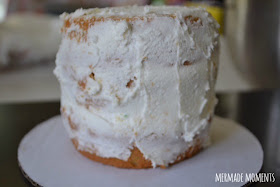
2) Make sure you leave a little white frosting in the bowl, for crumb coating! Crumb coating is when you spread a thin layer of frosting around your cake to seal in the crumbs. It's sort of a hassle, but needs to be done!
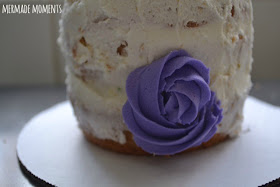
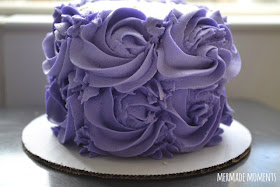
3) For this cake I did shades of purple. Decided what color or colors you want and how ombre you want your cake to be. I did three shades of purple. Separate some frosting into different bowls for each color. Dye and mix! 4) Ready?? Make sure your piping bag is full of frosting goodness! You are ready for your first flower. You can practice on wax paper beforehand if you want. I just start in the center and make a counterclockwise circle. You can decide which way you want to do it! Let it flow! I started with the darkest purple on bottom.
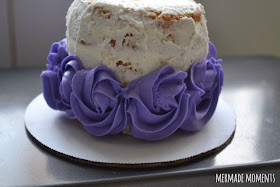
5) Continue the same way all around the bottom of your cake. This is row one.
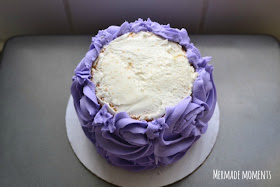
6) I went with the middle shade of purple for the next row. Do the same thing as the first row. If you want your cake to look uniform, make sure you are starting and stopping in the same place each time.
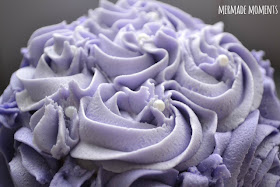
Tip #2! If you have gaps in between your flowers, make little swoops to fill them! You can also apply a little pressure for a star shape filler.
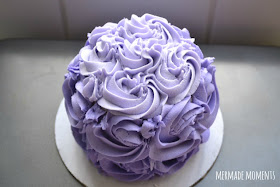
7) I think the top is my favorite part to do! I just start in one spot and fill the gaps. I used little purple accents for the centers of the flowers on top of the cake. (It was a Princess party, after all)
That's it!!!!!! I really hope you guys attempt this! Honestly, the hardest part for me is making sure the cake layers are even! This is a small cake. Ombre styles will vary depending on the size cake you are working on!
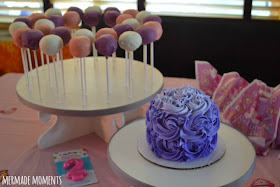
Here's a few pictures of the party. I made the cake pops as well :)
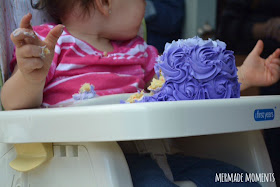
The birthday girl loved her smash cake!!!
Here's a picture of my first smash cake - in case you missed it!


Girl you are good!
ReplyDeleteWow! Those are so cute (and you make it sound so easy!)
ReplyDeleteMiranda, this is seriously SO COOL. My boyf is gonna be one heckuvah lucky guy when he gets an ombre rose cake just because! These look deeeeeelicious (and b-e-a-uuuuutiful).
ReplyDeletelovelovelove,
Erica
cominguprosestheblog.com